Laboratories and development bays
Charge between tests without moving a vehicle fitted with fixtures and measuring equipment. Place the charger alongside it.
For automotive OEM and Tier 1 laboratories and test facilities
Bring charging to the test vehicle.
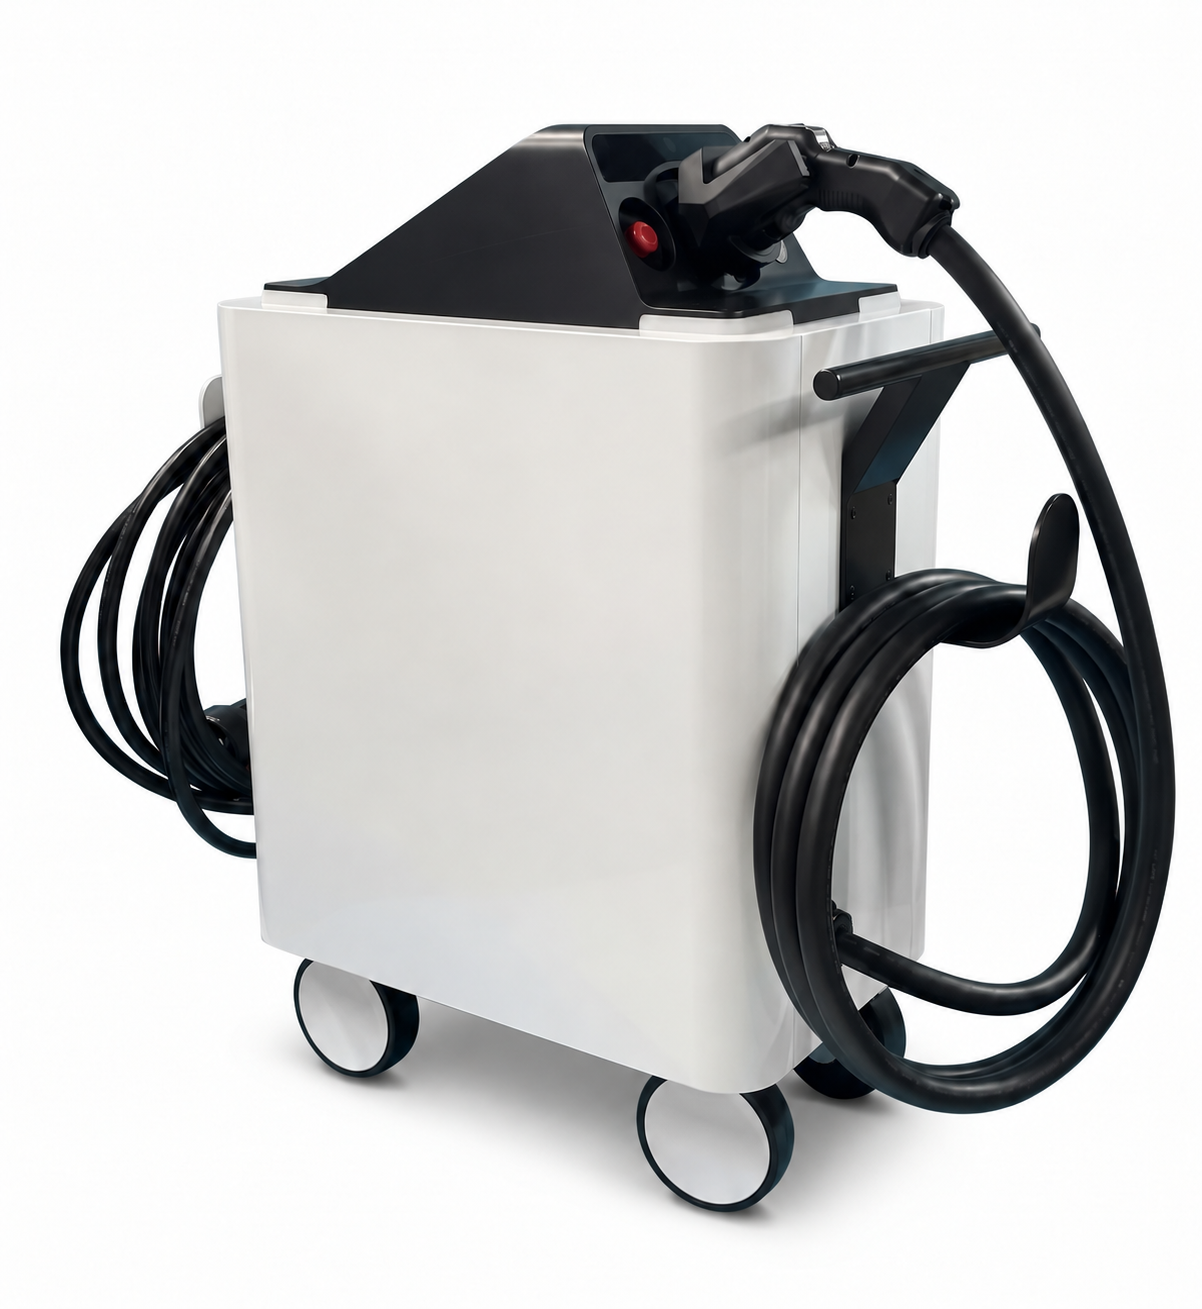
Do you move your test vehicle to a fixed charger just to recharge? Bring the charger on casters alongside the vehicle and connect it to a dedicated three-phase 200 V AC socket.
Normal power 15 kW / Boost power 18 kW
Indoor-only and indoor/outdoor models. Discuss development and evaluation use.
01 / APPLICATIONS
Moving a vehicle with attached fixtures and instruments can make recharging difficult. Bring a portable EV charger alongside the vehicle and position it to suit your vehicle layout and test location.
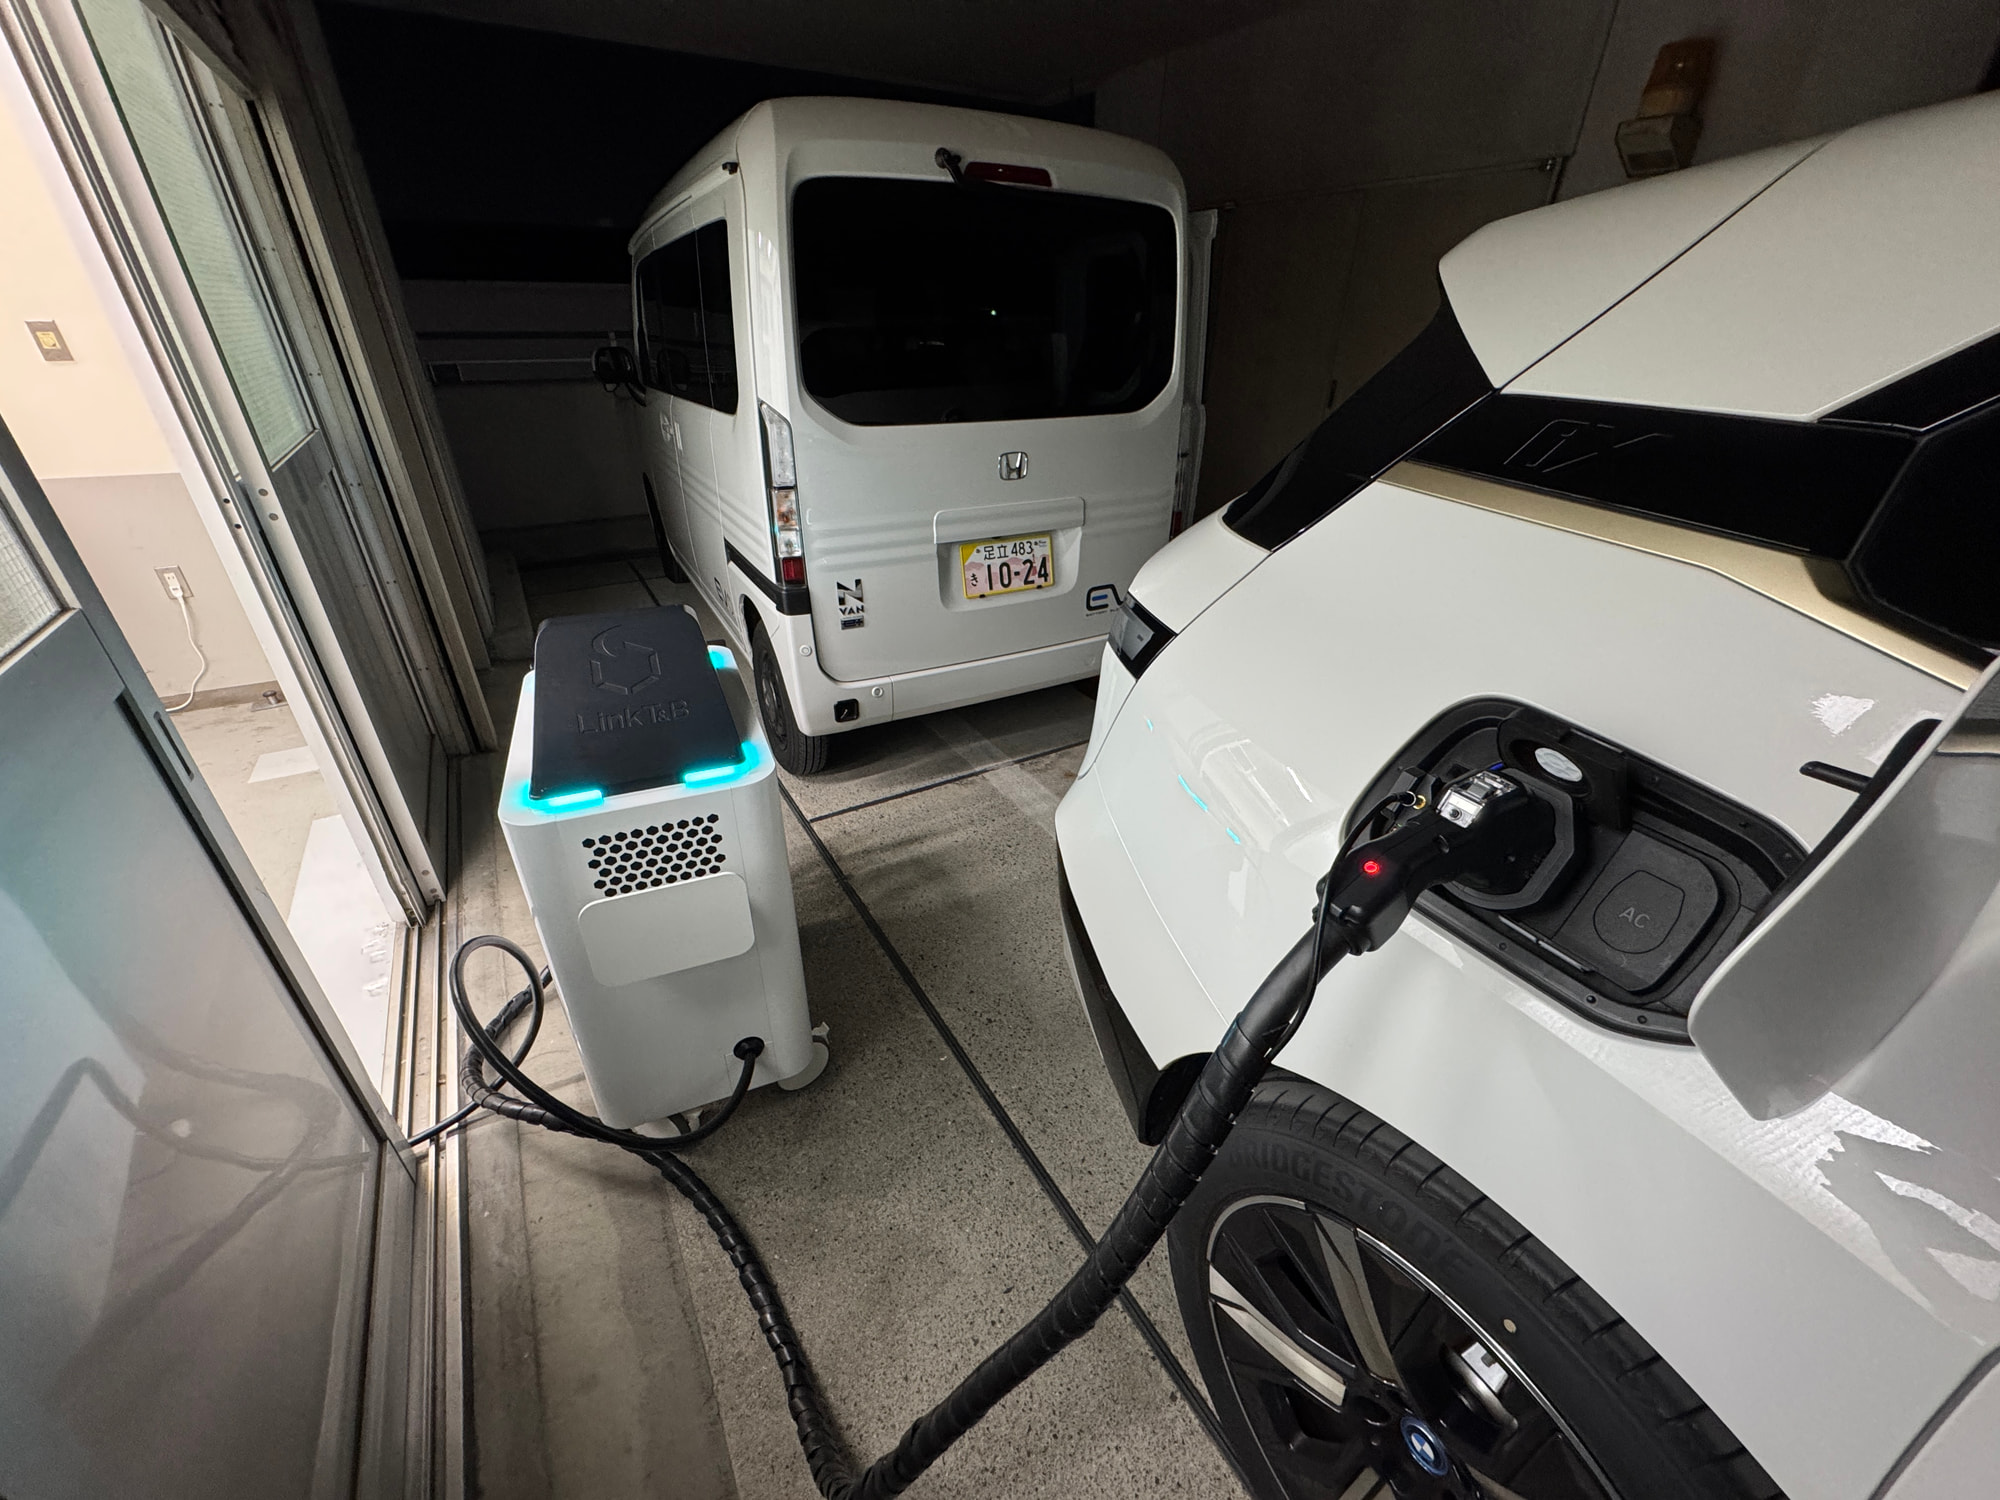
Charge between tests without moving a vehicle fitted with fixtures and measuring equipment. Place the charger alongside it.
Move the charger to the vehicle that needs charging. Use the indoor/outdoor model in outdoor areas.
Move the charger when the test location changes. Stop charging, disconnect the cables and reconnect to a three-phase 200 V AC socket at the new location.
02 / EVERYDAY USE
Bring the charger to the test location, then connect it to the power supply and vehicle.
STEP 1
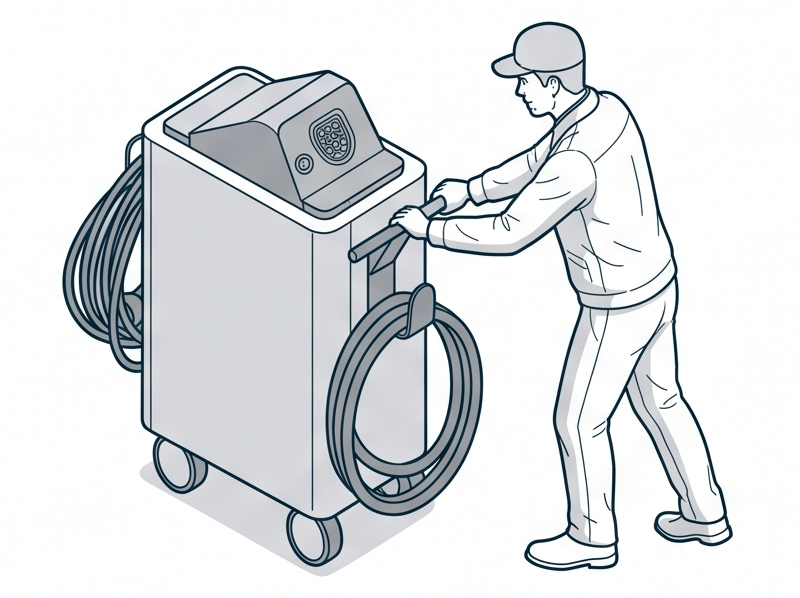
Disconnect the cables, then move the charger to the test site where charging is needed.
STEP 2
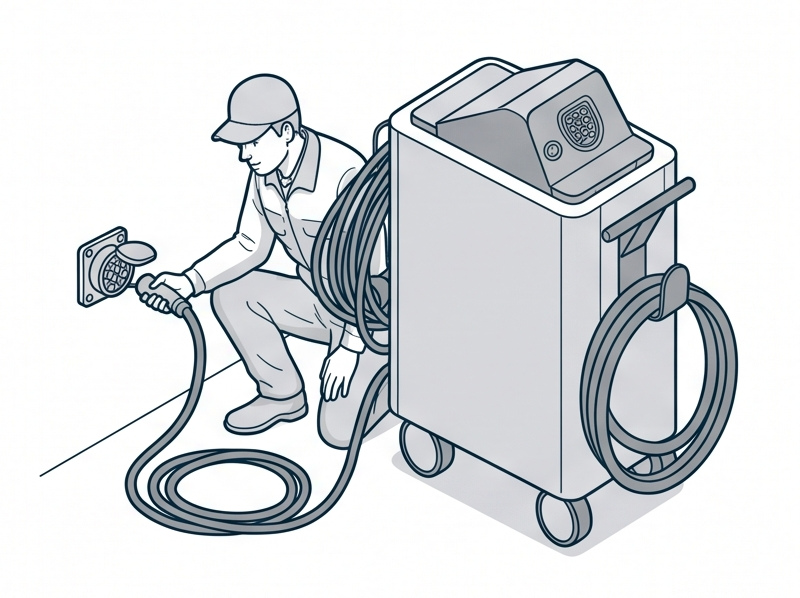
Connect the supply cable from the rear of the charger to the American Denki socket.
STEP 3
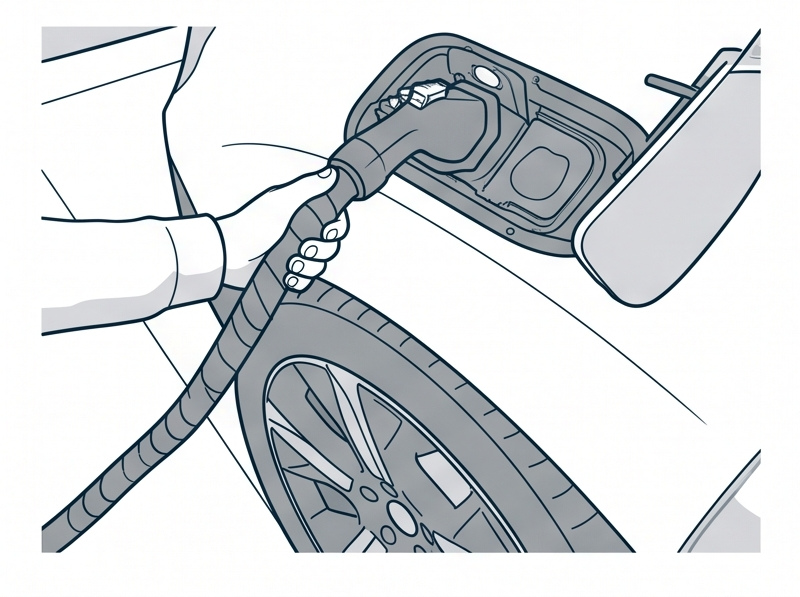
Connect the charging connector to the inlet of the EV or EV vehicle platform.
STEP 4
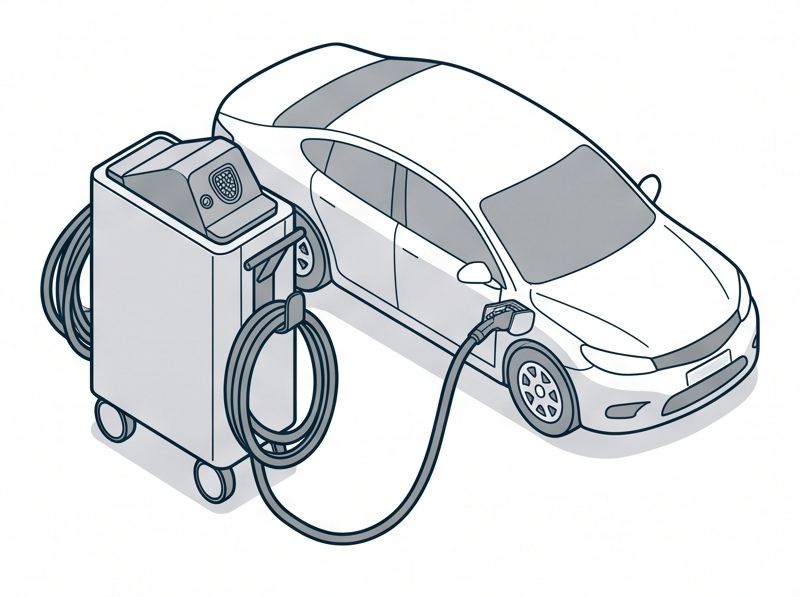
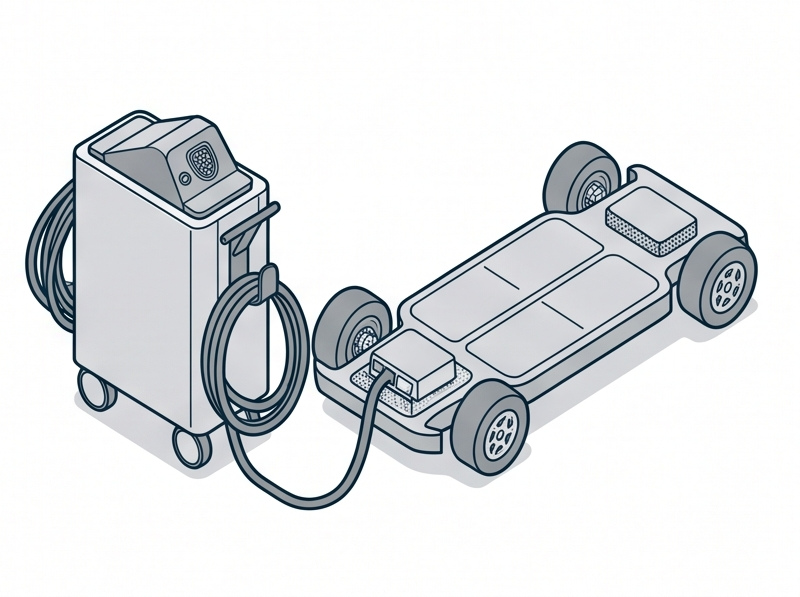
One Charge Key identifies the connected vehicle and starts charging automatically.
Charging control (demand control)
Charging energy and cumulative charging energy
Voltage, current and charge completion time
Illustrative images
03 / PREPARATION
Prepare the power supply and One Charge Key once. Then move the charger and connect it to the power supply and vehicle for daily use.
Installation by an electrical contractor
STEP 1
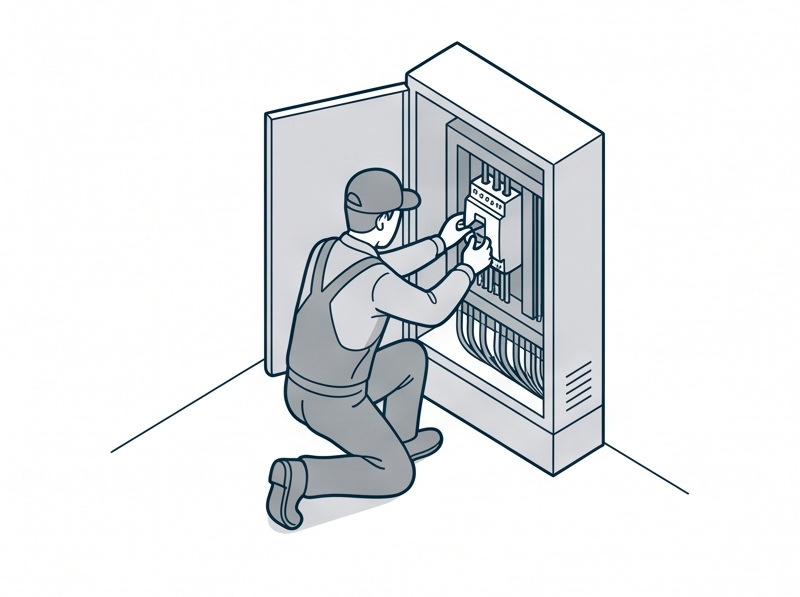
Install an earth-leakage breaker in the three-phase 200 V AC distribution board.
STEP 2
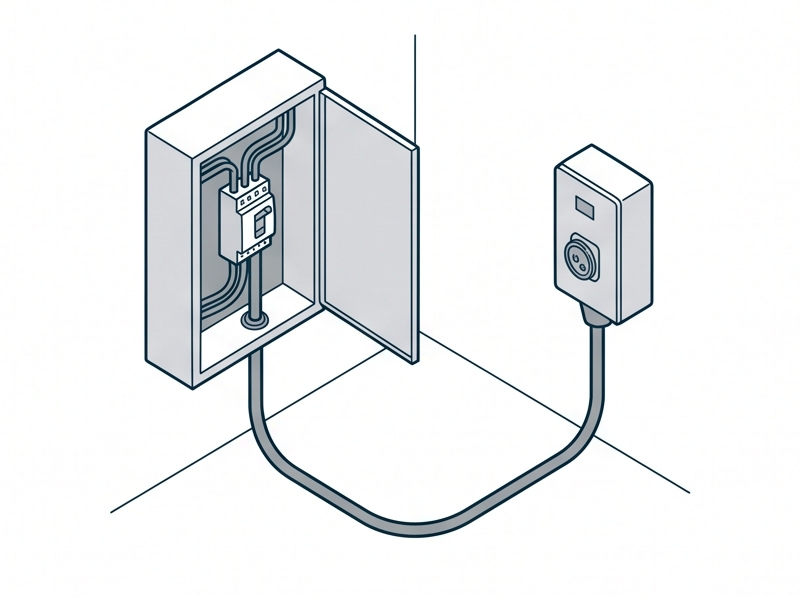
Run a cable from the distribution board to a circuit-breaker box. Install an American Denki socket on the box.
Electrical supply ready
STEP 1
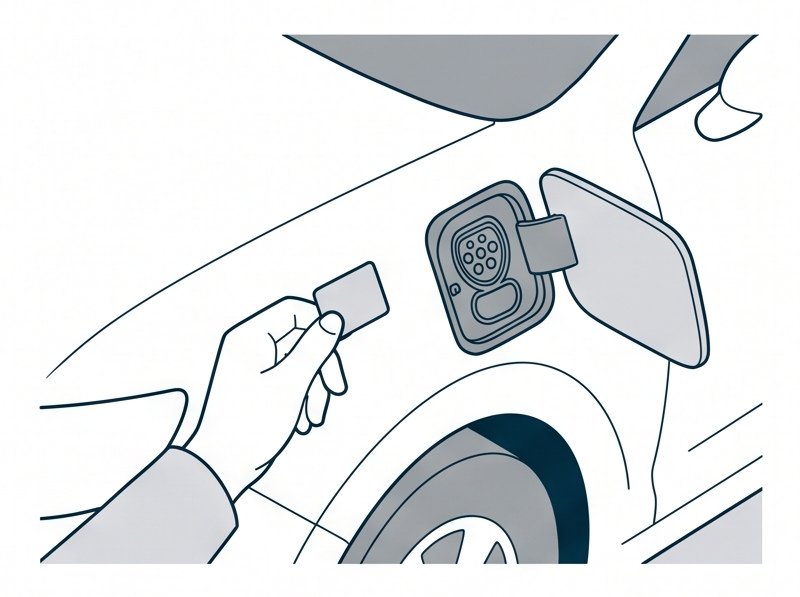
Attach a KeyIC sticker beside the charging inlet of the EV or EV vehicle platform.
STEP 2
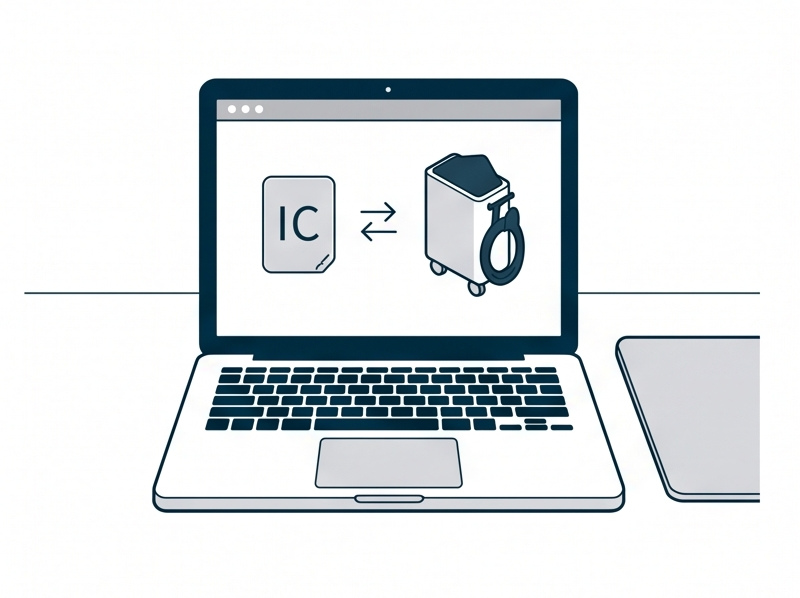
Register the KeyIC number on the One Charge Key platform and link it to the charger.
One Charge Key ready
Illustrative images
04 / ONE CHARGE KEY
One Charge Key identifies a vehicle through the KeyIC sticker beside its charging inlet and manages charging status and history by vehicle. It can be used with the portable EV charger.
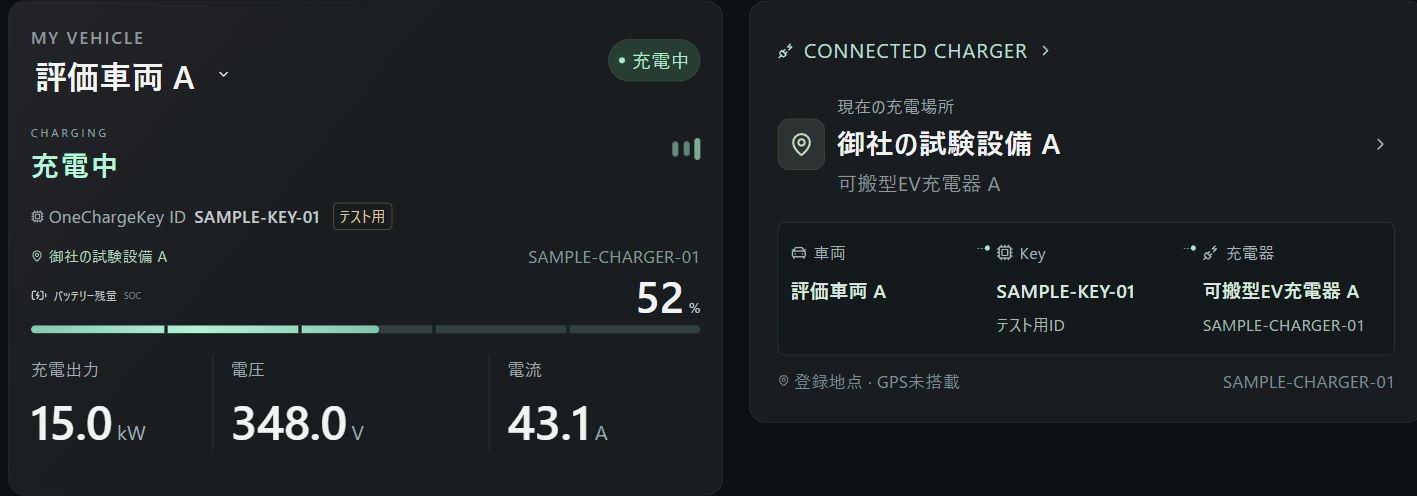
Check the identified vehicle, its connected charger and the registered charging location.
Display available information such as state of charge (SOC), voltage, current and power.
Review charging history by vehicle and charging energy calculated from recorded voltage and current.
05 / SPECIFICATIONS
Two models are available: indoor-only and indoor/outdoor. Both share the electrical specifications below. Choose according to your test location.
For indoor laboratories and vehicle development bays.
For indoor bays and outdoor evaluation yards.
| Item | Specification |
|---|---|
| Input power supply | 200 V AC, three-phase |
| Input frequency | 50 / 60 Hz |
| Input connection | Plug and socket (optional: terminal block) |
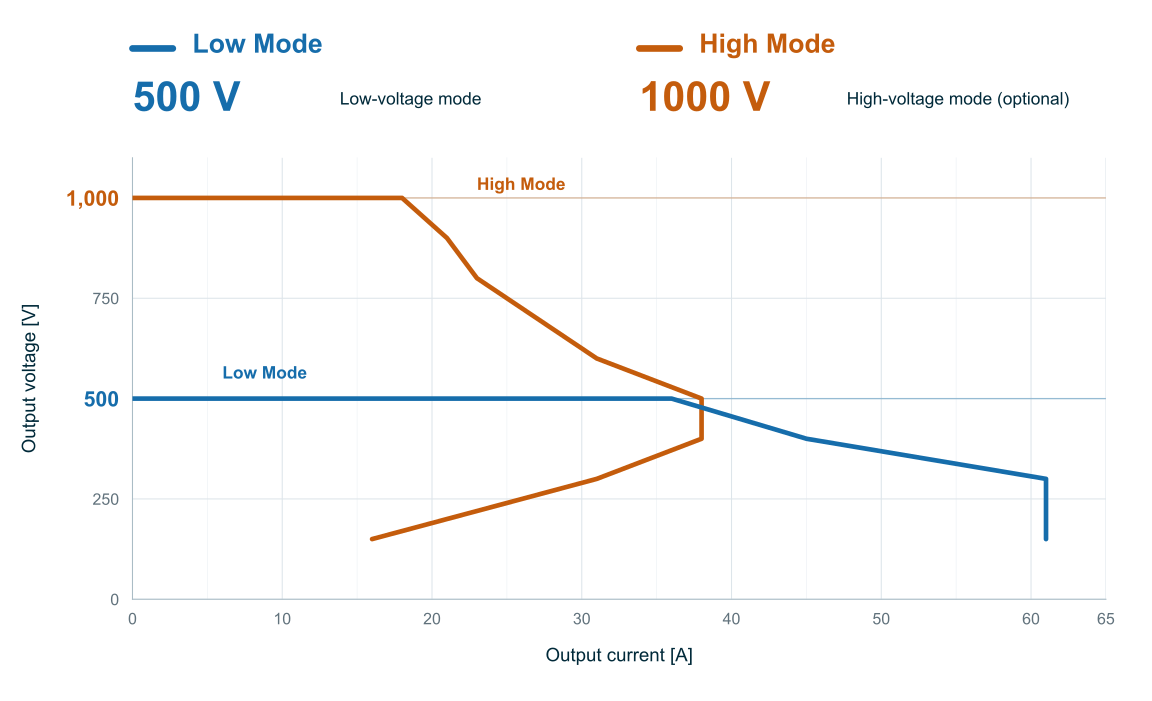
| Output voltage (standard) | 150-500 V DC |
| Maximum output power | Normal: 15 kW / Boost: 18 kW |
| Rated output current (standard) | 61 A |
| High Mode (high voltage, 1000 V) | Available as an option |
| Charging function | Charging only |
| Item | Specification |
|---|---|
| Charging system | CHAdeMO 2.0.1 |
| Communication specifications | Wi-Fi |
| Optional connection | Mobile carrier network |
06 / POWER & CONNECTION
| Item | Specification |
|---|---|
| Manufacturer and model | American Denki 41026EW |
| Type and rating | Grounding 3-pole, 100 A, 250 V; locking waterproof panel receptacle |
| Conductor and termination | 38 mm²; crimp terminals |
| Receptacle protection | IP65 with 41022RW connected or waterproof cover fitted |
07 / INTRODUCTION
Link T&B can propose a setup for your laboratory or test facility. Contact us if moving vehicles to charging equipment or recharging between tests is inconvenient. Start with one unit; we will discuss the connection arrangement, price and delivery timing.
Plug and socket connection is standard. Terminal block connection is available as an option.
Testing is still in progress. We explain the intended operating conditions and test status before arranging introduction for development and evaluation use.
We support power electronics development, design and evaluation. Depending on your needs, we can provide contract development, engineering support under quasi-mandate or SES arrangements, and technical advisory services.
Link T&B can propose a setup for your laboratory or test facility. Contact us if moving vehicles to charging equipment or recharging between tests is inconvenient. Start with one unit; we will discuss the connection arrangement, price and delivery timing.